 |
| From SWB Chassis Rebuild |
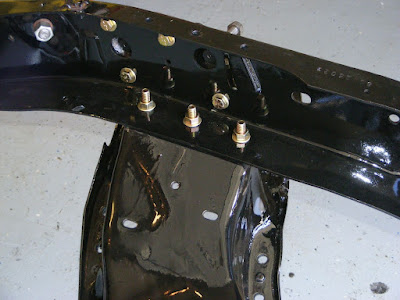
Next I placed the new short bed frame in the center of the garage and started reassembling the suspension. I started with the rear by adding several new components. All from my Early Classic Enterprises 4/6 drop kit. It drops the truck 4" in the front and 6" in the rear. I added shock mount relocators and relocated the track bar to the right trailing arm.
 |
| From SWB Chassis Rebuild |
I then bolted the crossmember onto the short frame. It was a perfect fit! Everything lined up nicely.
 |
| From SWB Chassis Rebuild |
Next I replaced the upper and lower control arm shafts and ball joints. This by far was the hardest part of the suspension rebuild. It was kinda like that move "A Christmas Story". Remember the dad fighting with the furnace, cussing and yelling? That was me! With the shafts in place I could begin reassembling the front suspension. The old spindles were replaced with ECE 2 1/2" drop spindles. I used ECE 1 1/2" drop springs, all new grade 8 nuts and bolts, new brake rotors and calipers. When I finally got it all togther, I stepped back, lit up a cigar and admired my little masterpiece :)
 |
| From SWB Chassis Rebuild |
Passenger Side:
 |
| From SWB Chassis Rebuild |
A little elbow grease goes a long way!
 |
| From SWB Chassis Rebuild |
Drivers sideview:
 |
| From SWB Chassis Rebuild |
Slideshow of photos. The old rear cover looks out of place. It gets replaced later :)


No comments:
Post a Comment